

Pinsa Romana Recipe (Crispy, Bubbly Roman-Style Crust)
This post may include affiliate links, meaning I will earn a small commission if you purchase through my link. Affiliate Disclaimer.
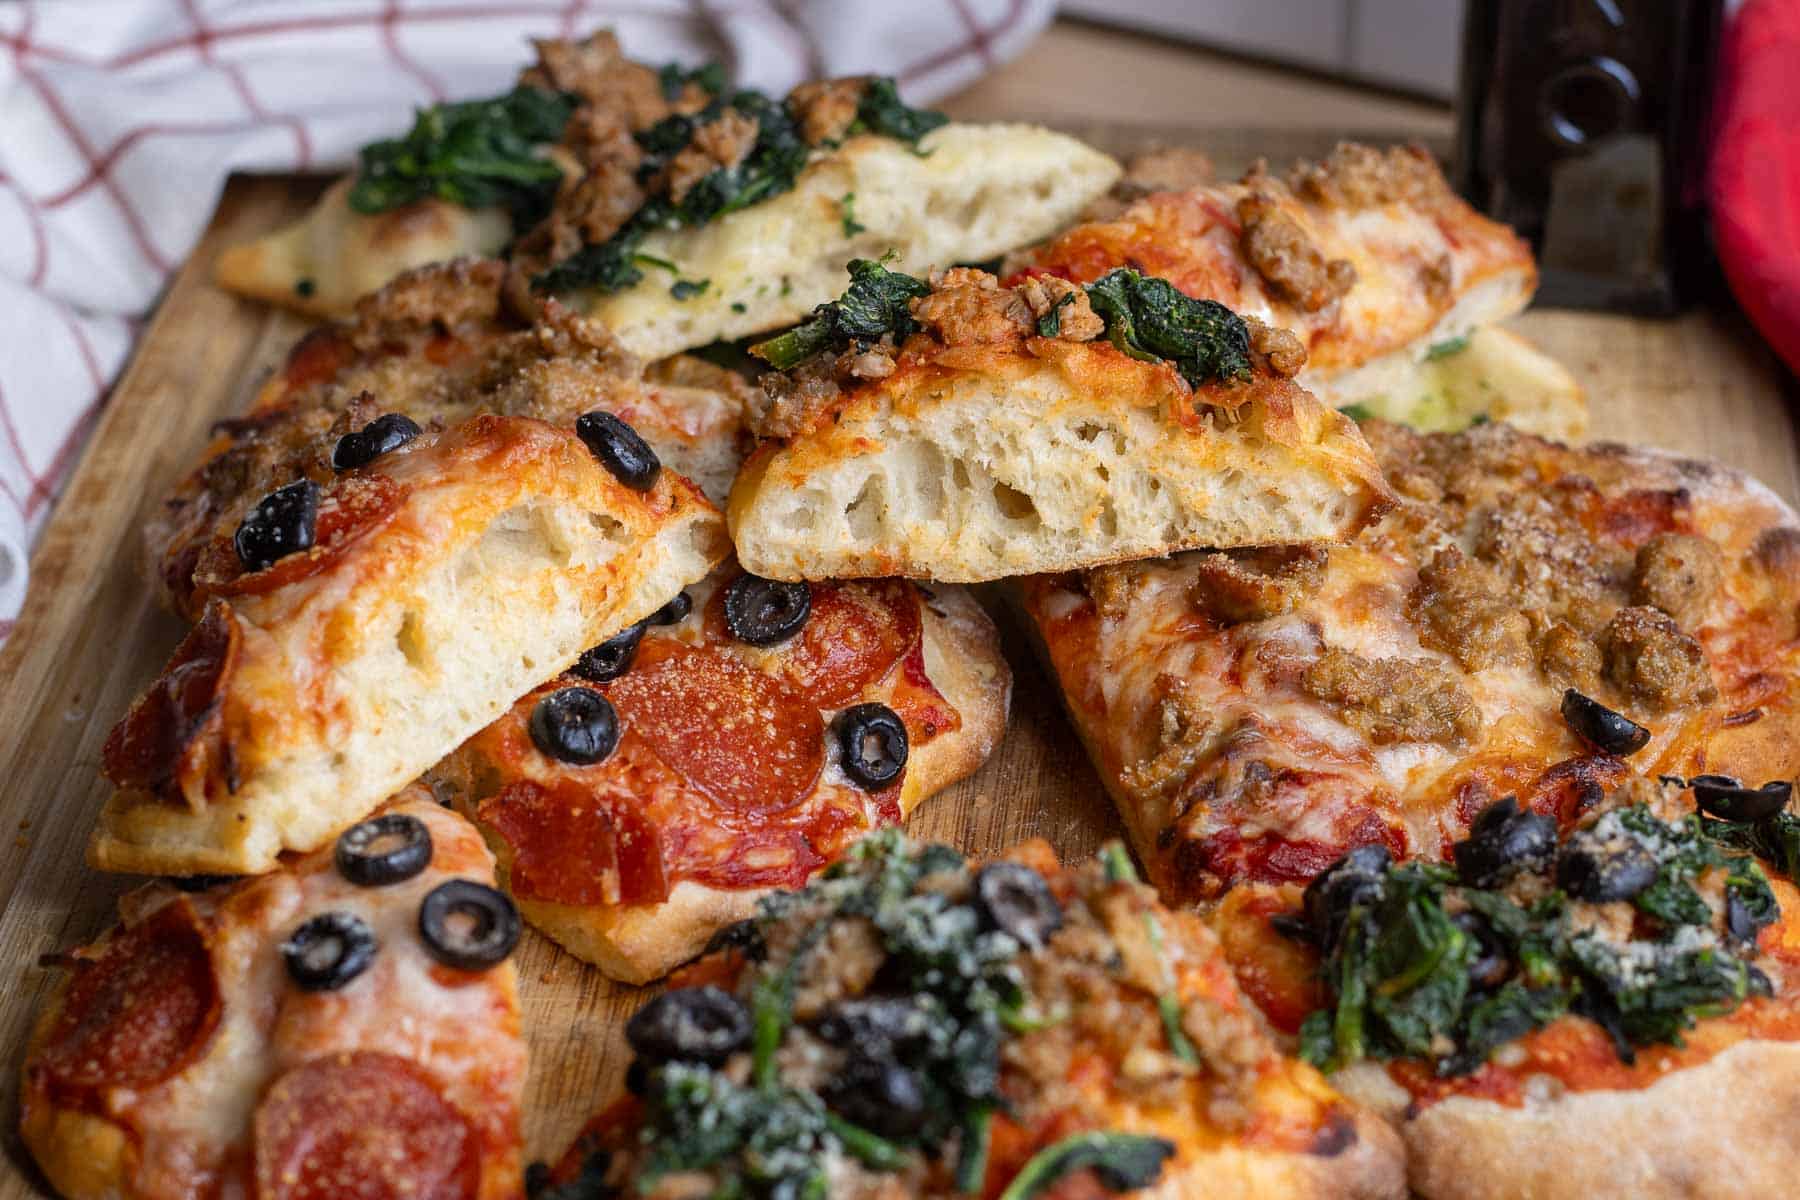
Pinsa Romana is a Roman-style flatbread made with a high-hydration, multi-flour dough that bakes up light and airy on the inside with a crisp, delicate crust.

Pinsa Romana Recipe Snapshot
- What is it: Roman-style pizza that is light and airy inside, with a crisp exterior and visible bubbles throughout the crust.
- Yeild: 4 Pinsas, feeds 6-8 people
- Skill Level: Intermediate
- Time Commitment: Hands-on time is minimal, but dough requires several rest periods and cold fermentation requires 24-48 hours; bake time is about 15 minutes per pinsa.
The first time I saw pinsa online, I was immediately intrigued by its shape, visible bubbles, and the contrast between its crisp exterior and airy interior. It looked completely different from traditional pizza. At first I thought, “oh, it is just a focaccia“, but it isn’t that either, so I had to try making it.
I’ve been testing and refining this pinsa dough for months — adjusting hydration, fermentation time, folding technique, and baking method — until I consistently achieved the bubbly, crackly crust and open crumb that defines authentic pinsa. This is not traditional pizza dough. And if you treat it like pizza dough, you’ll miss what makes pinsa special.
What is Pinsa Romana
The word pinsa comes from the Latin pinsere, meaning to press or stretch — which is exactly how the dough is shaped.
While pinsa is often described as ancient, the modern dough was developed by Roman pizza chef Corrado Di Marco, who combined traditional bread-making knowledge passed down from his maternal grandfather with scientific research into hydration, fermentation, and digestibility. The result was a precise, method-driven dough that behaves very differently from classic pizza.
Although its roots trace back to traditional techniques, pinsa’s global popularity has surged since around 2017.
Why This Pinsa Romana Recipe Works
After testing many variations, a few things became clear:
- Cold Water Is Non-Negotiable
- Using very cold (icy) water slows fermentation, helps control gluten development, and encourages those beautiful surface bubbles during the long ferment. Warmer water produces a heavier, less refined texture.
- The Flour Blend Matters
- 00 flour provides structure and elasticity
- Rice flour contributes lightness and crispness
- Soy flour adds tenderness and helps prevent a tough interior
This balance creates a dough that can hold high hydration without collapsing.
- Resting Stages Are Just as Important as Mixing
- Each rest has a purpose:
- Initial rest hydrates the flour
- Folding builds structure without over-kneading
- Cold fermentation develops flavor and digestibility
- Final rest relaxes the dough so it presses easily without tearing
Skipping or rushing these stages leads to dense or uneven results.
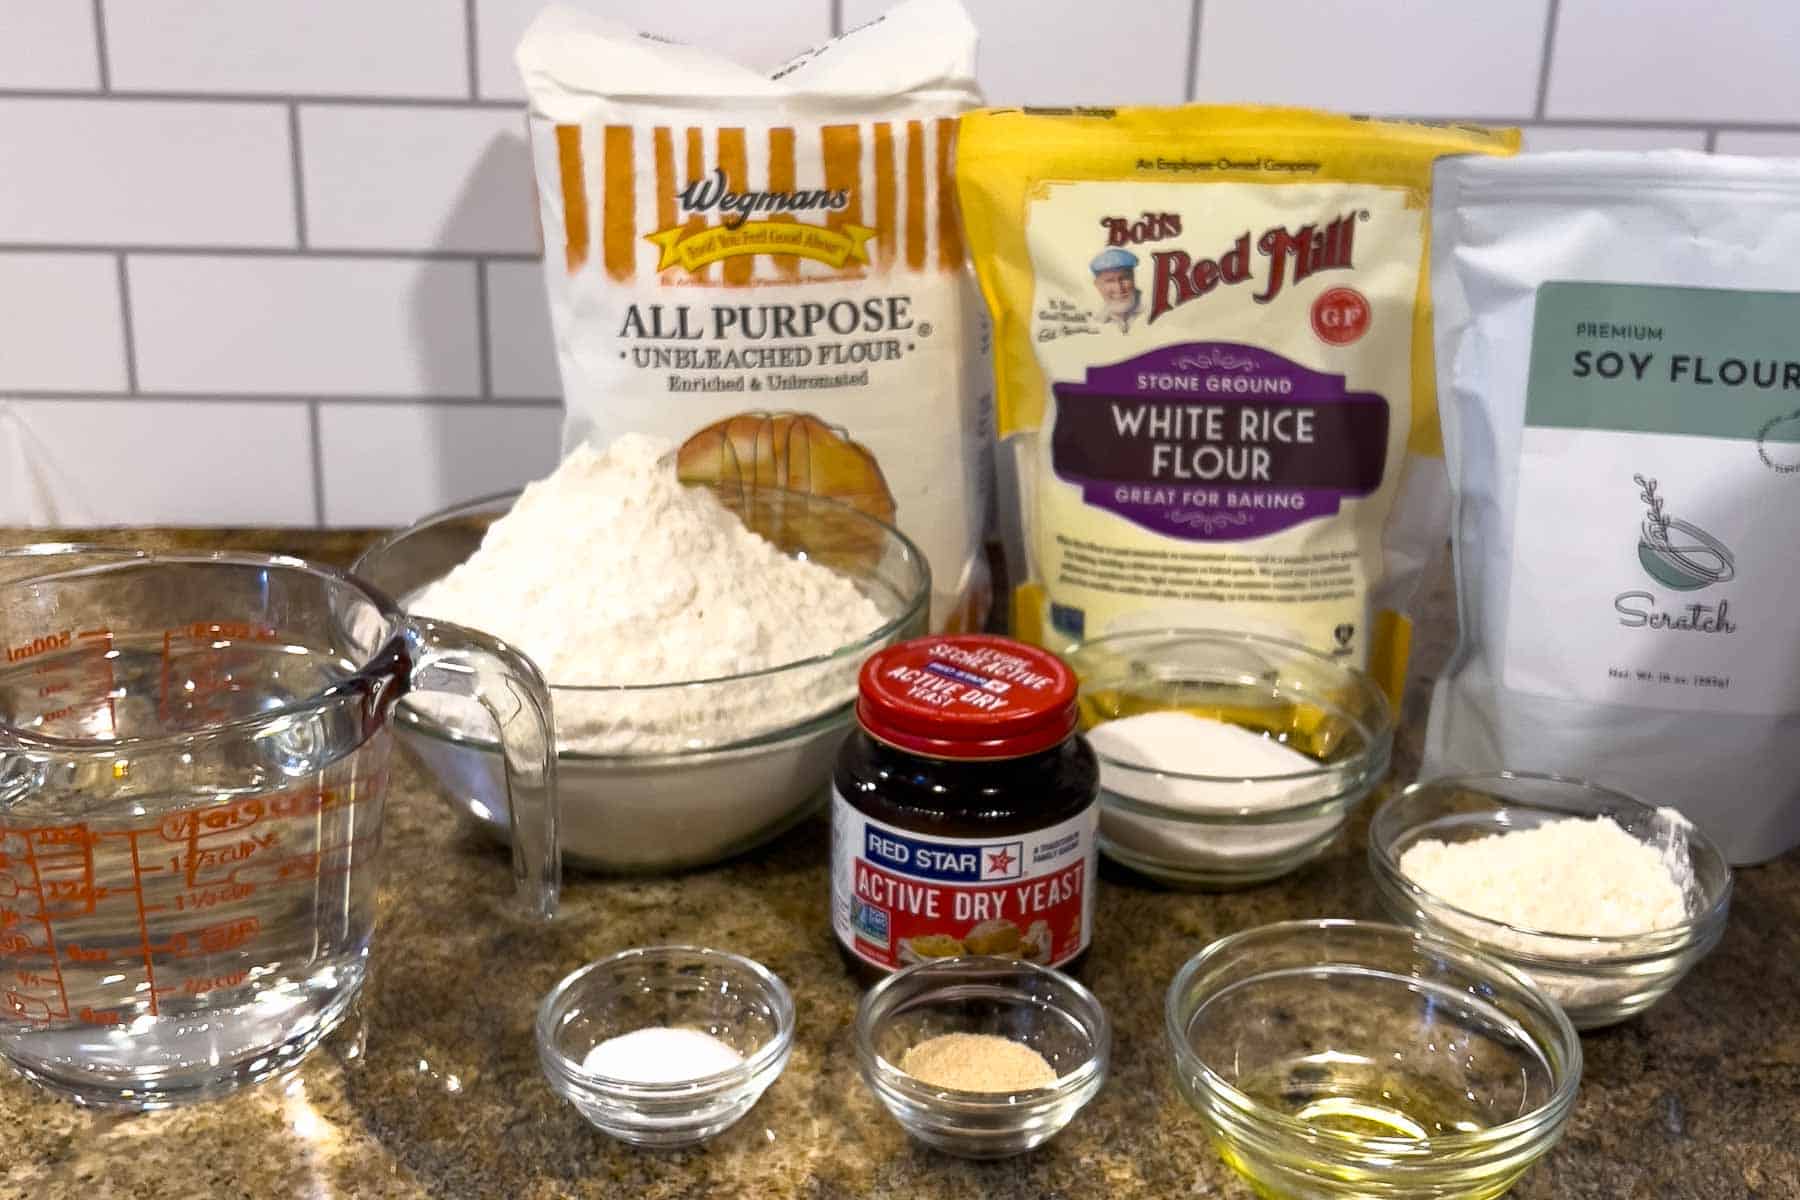
Ingredients and Why They’re Used
- 00 Flour or All-Purpose Flour – Provides structure and gluten development
- Rice Flour – Lightens the dough and creates a crisp exterior
- Soy Flour – Adds softness and balance to the crumb. Some recipes call for spelt flour, but I haven’t tried this substitution, so I can’t say how it will affect the texture.
- Dry Active Yeast – Slow, controlled fermentation
- Very Cold Water – Essential for texture and bubble formation
- Semolina Flour – Prevents sticking and crisps the bottom during baking
How to Make Pinsa Romana Dough (Step-by-Step)
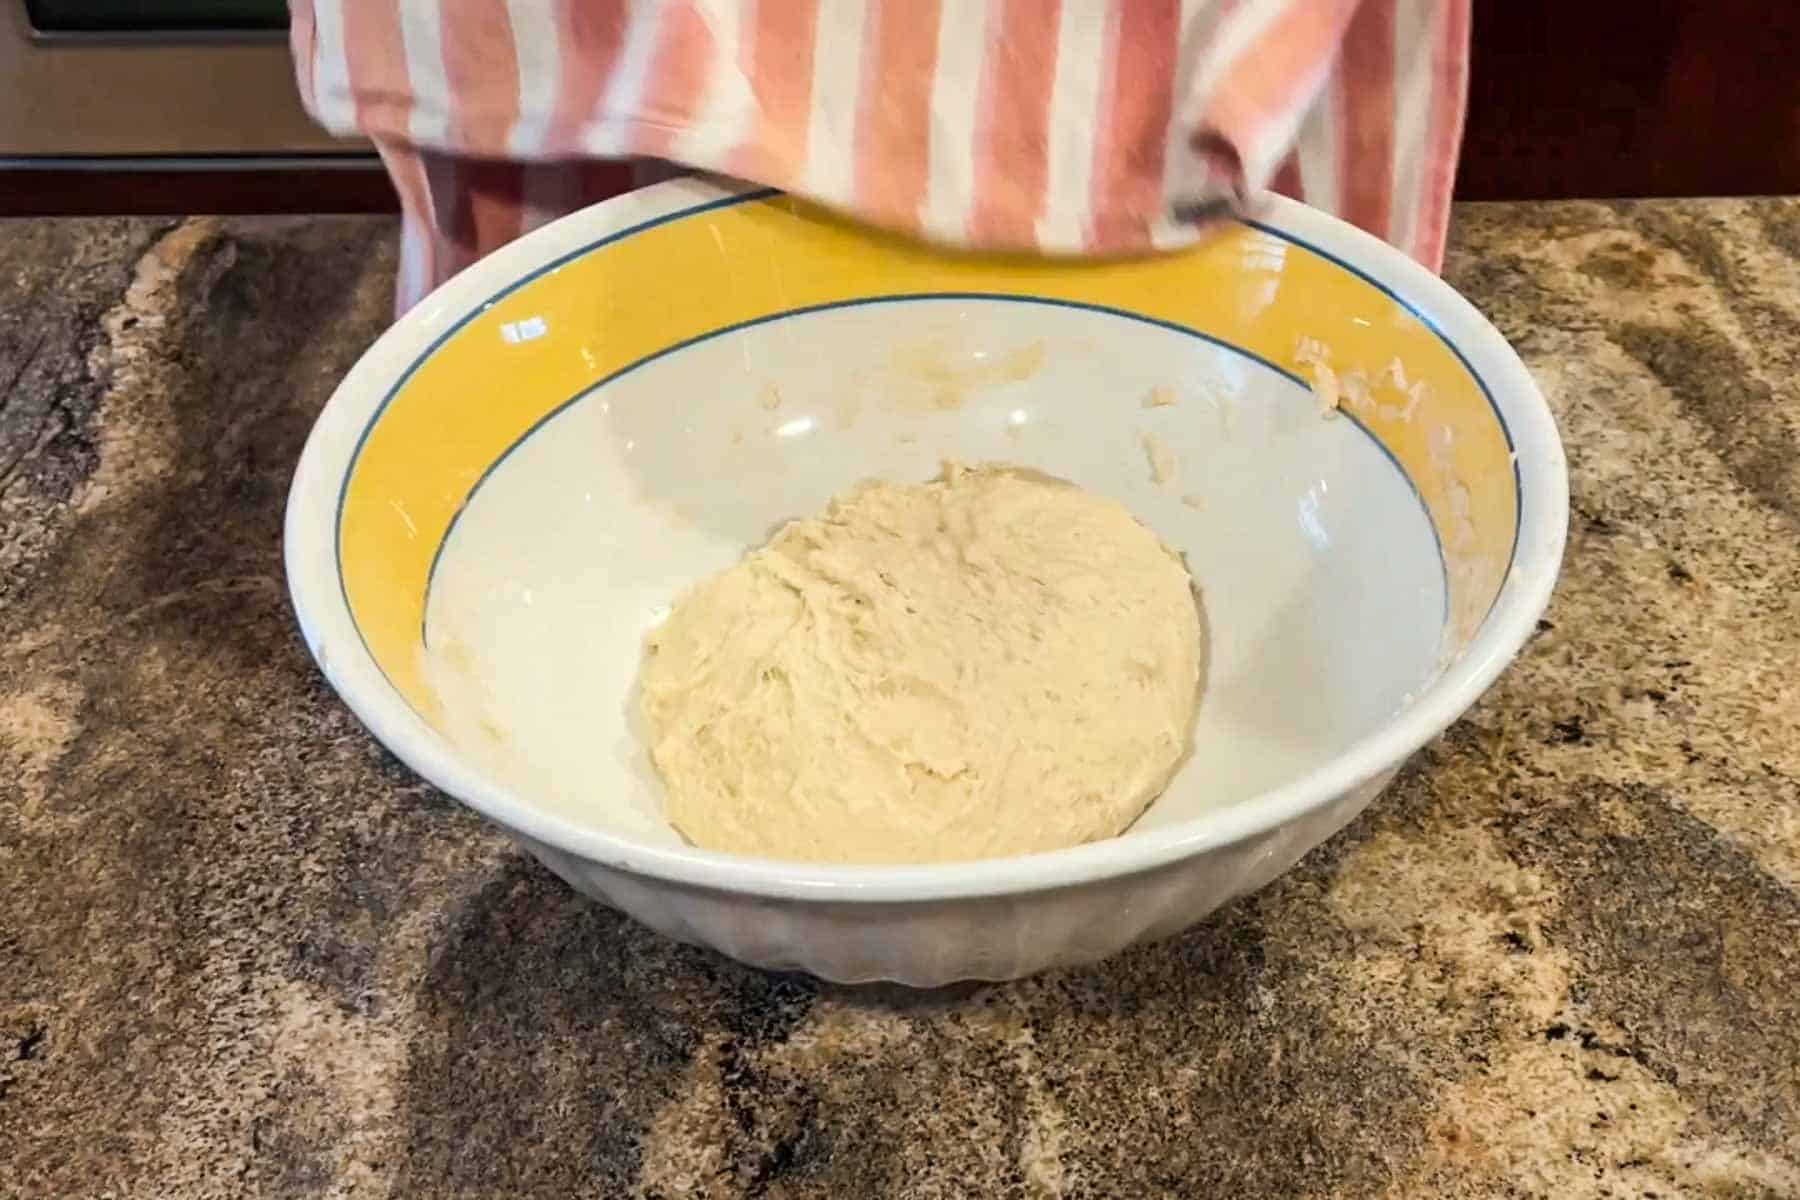
Step 1 Mix the Dough and Rest: In a large mixing bowl, combine the 00 flour, rice flour, soy flour, and yeast. Add about ¾ of the cold water and mix with a spoon or your hands until a rough dough forms. Knead gently for about 2 minutes, just until the water is absorbed. Cover the bowl and let the dough rest for 15 minutes.
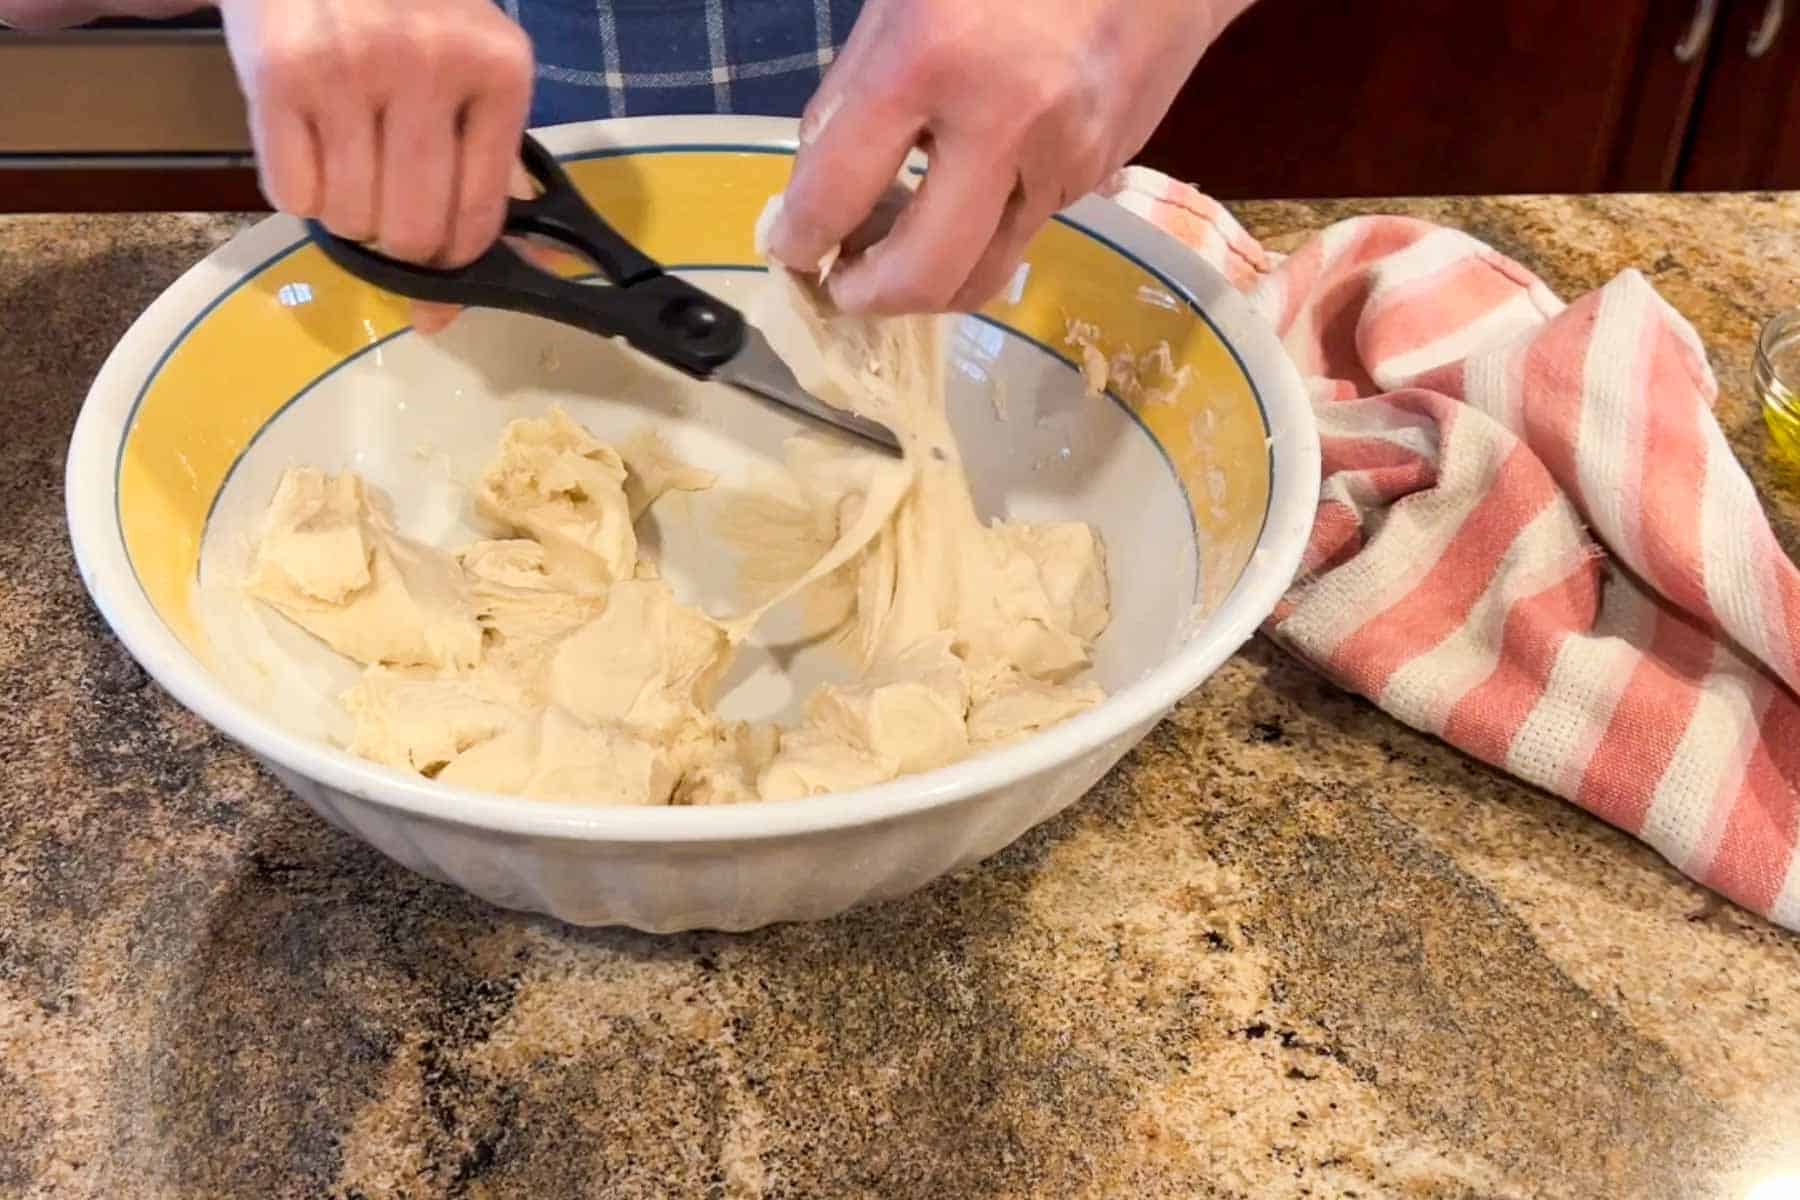
Step 2 Add Salt, Oil and Remaining Water: Cut the dough into chunks or make deep slits across the surface. Add the salt, olive oil, and remaining cold water. Using your hands, work the ingredients into the dough. It will be very sticky and uneven at this stage — that’s expected. Cover and let rest for another 15 minutes.
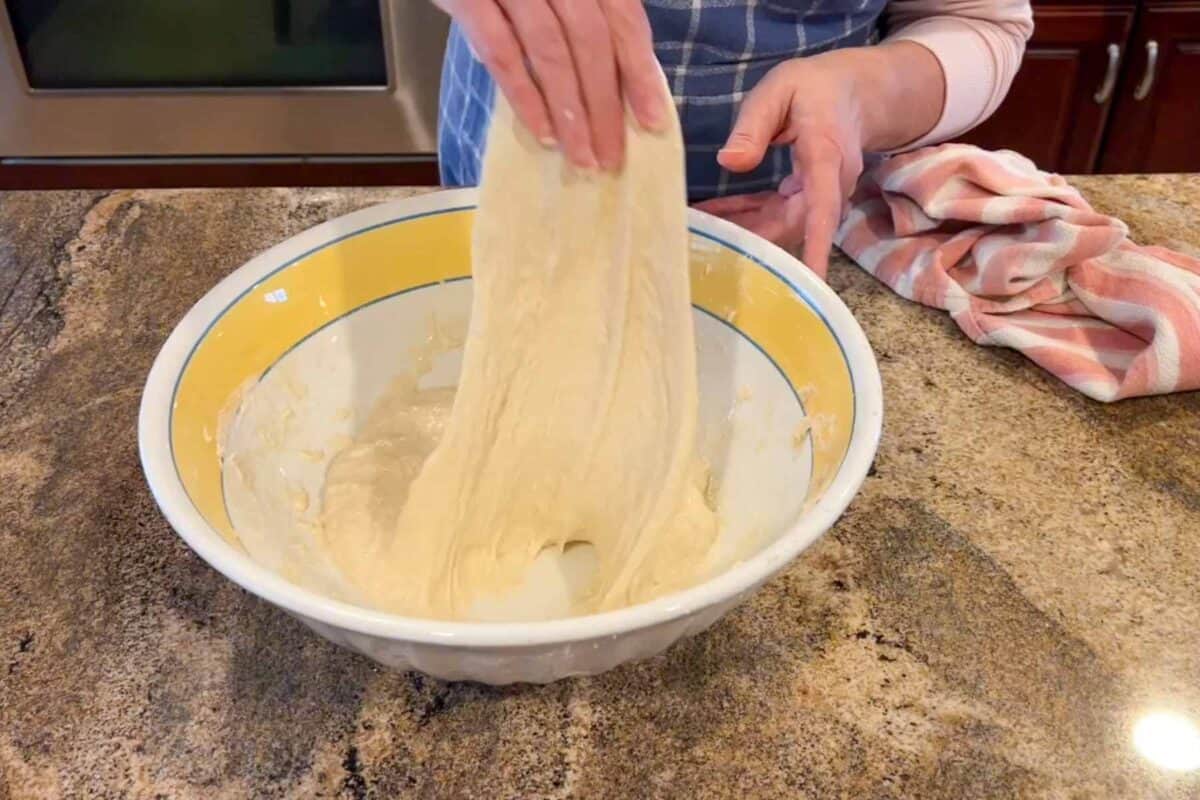
Step 3 Stretch Dough: Stretch the dough upward and fold it over itself. Rotate the bowl a quarter turn and repeat. Do this four times total.
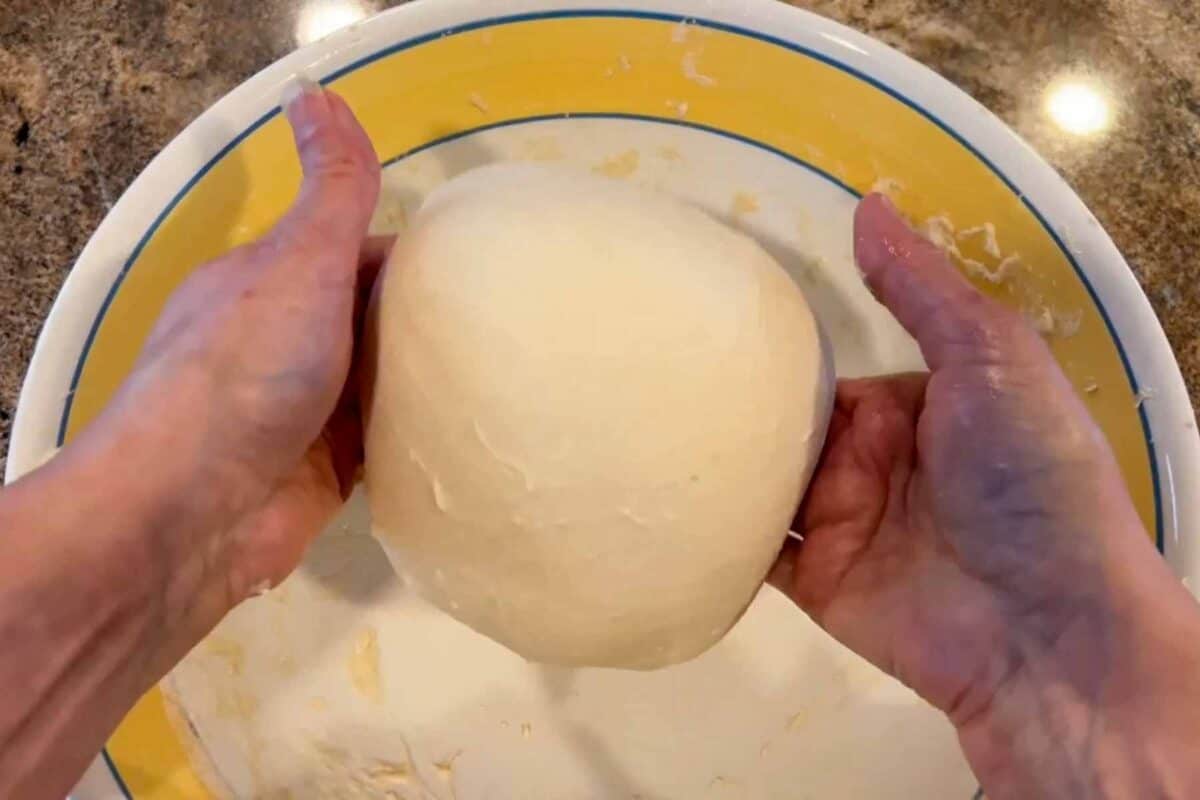
Step 4 Fold the Dough: Lift the dough from the sides and fold it over itself several more times until it starts to smooth out. Turn the dough onto a lightly floured surface and repeat a few folds.
Cooking Tip
Wetting your hands will keep the dough from sticking to you and make it easier to work.
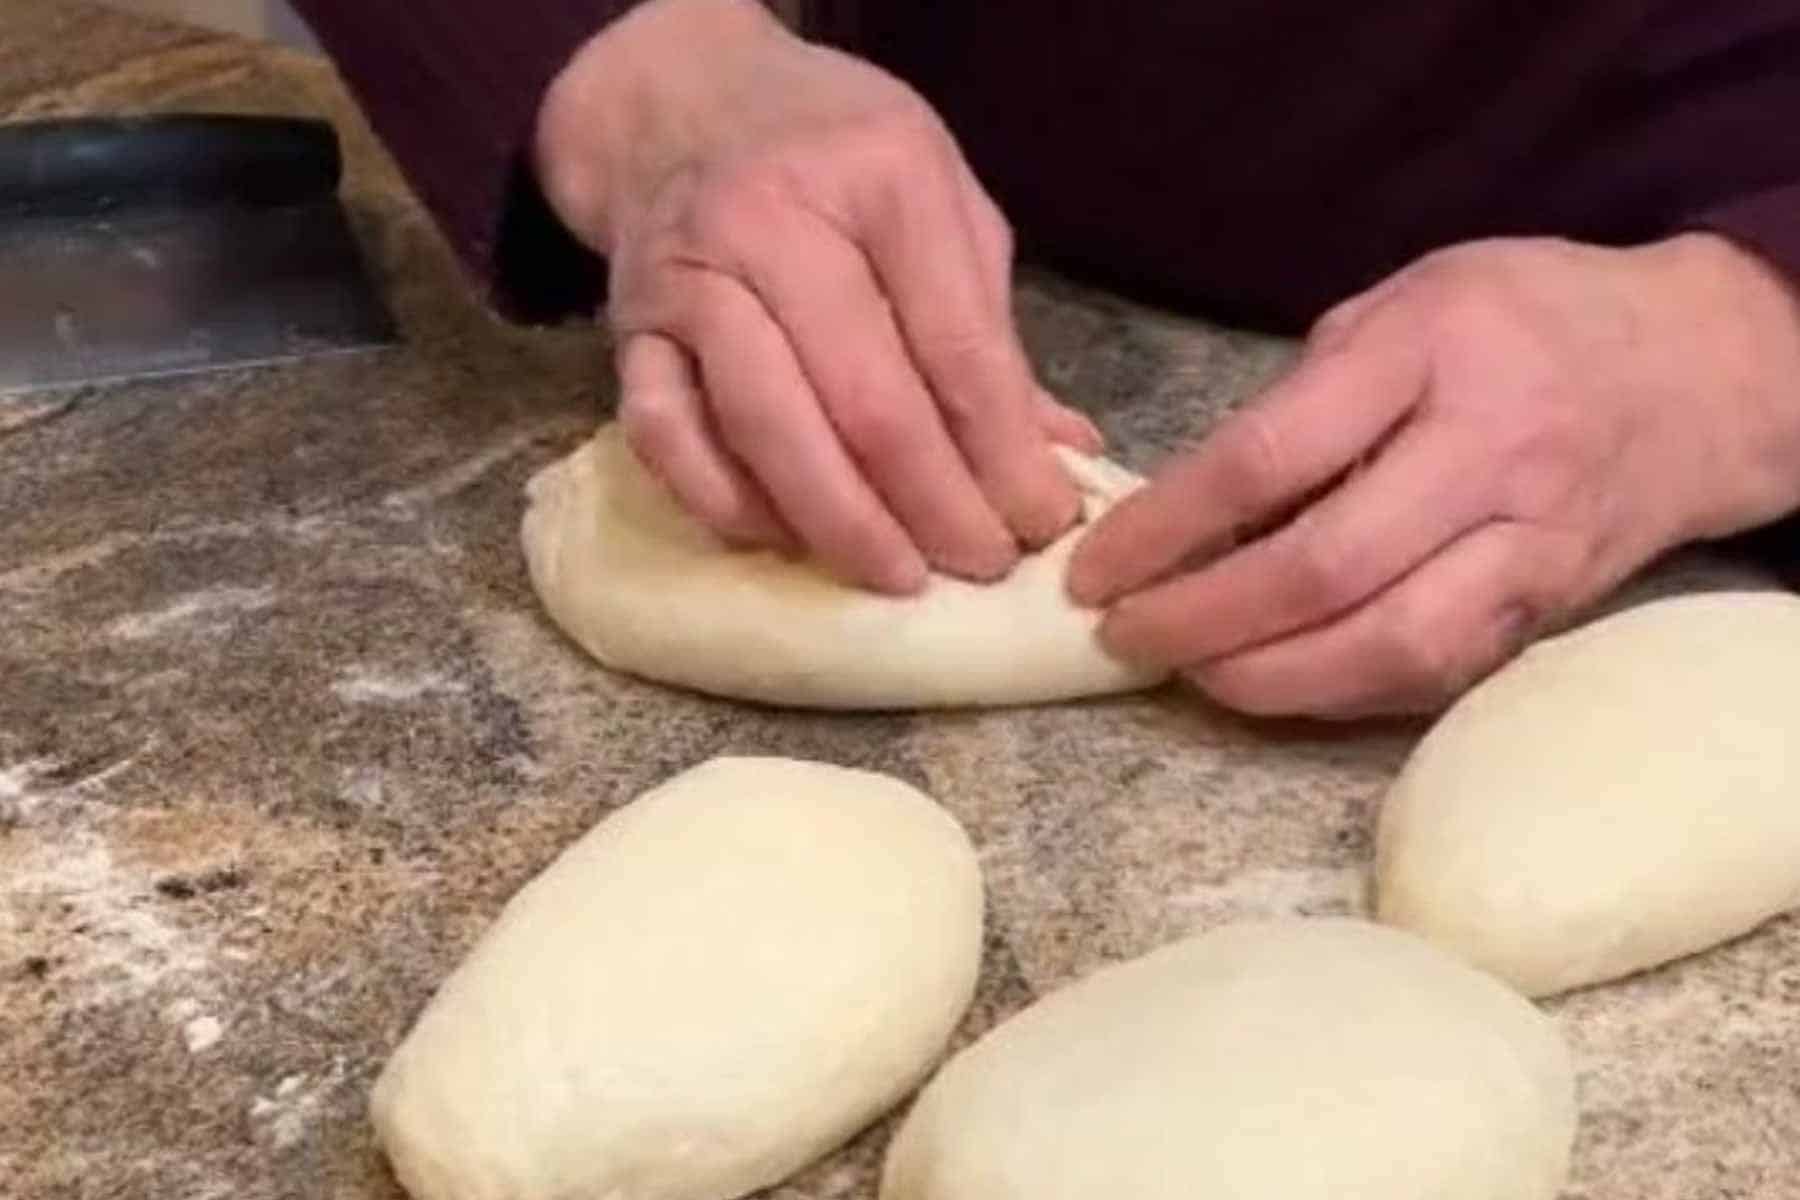
Step 7 Shape and Rest the Dough: Generously flour your work surface. Gently turn out the dough and divide it into 4 equal pieces. Working with one piece at a time, fold the edges inward, pinch the center gently, form a loose oval. Place each piece seam-side down into a container dusted generously with semolina flour. Cover and let rest for 2–3 hours at room temperature.
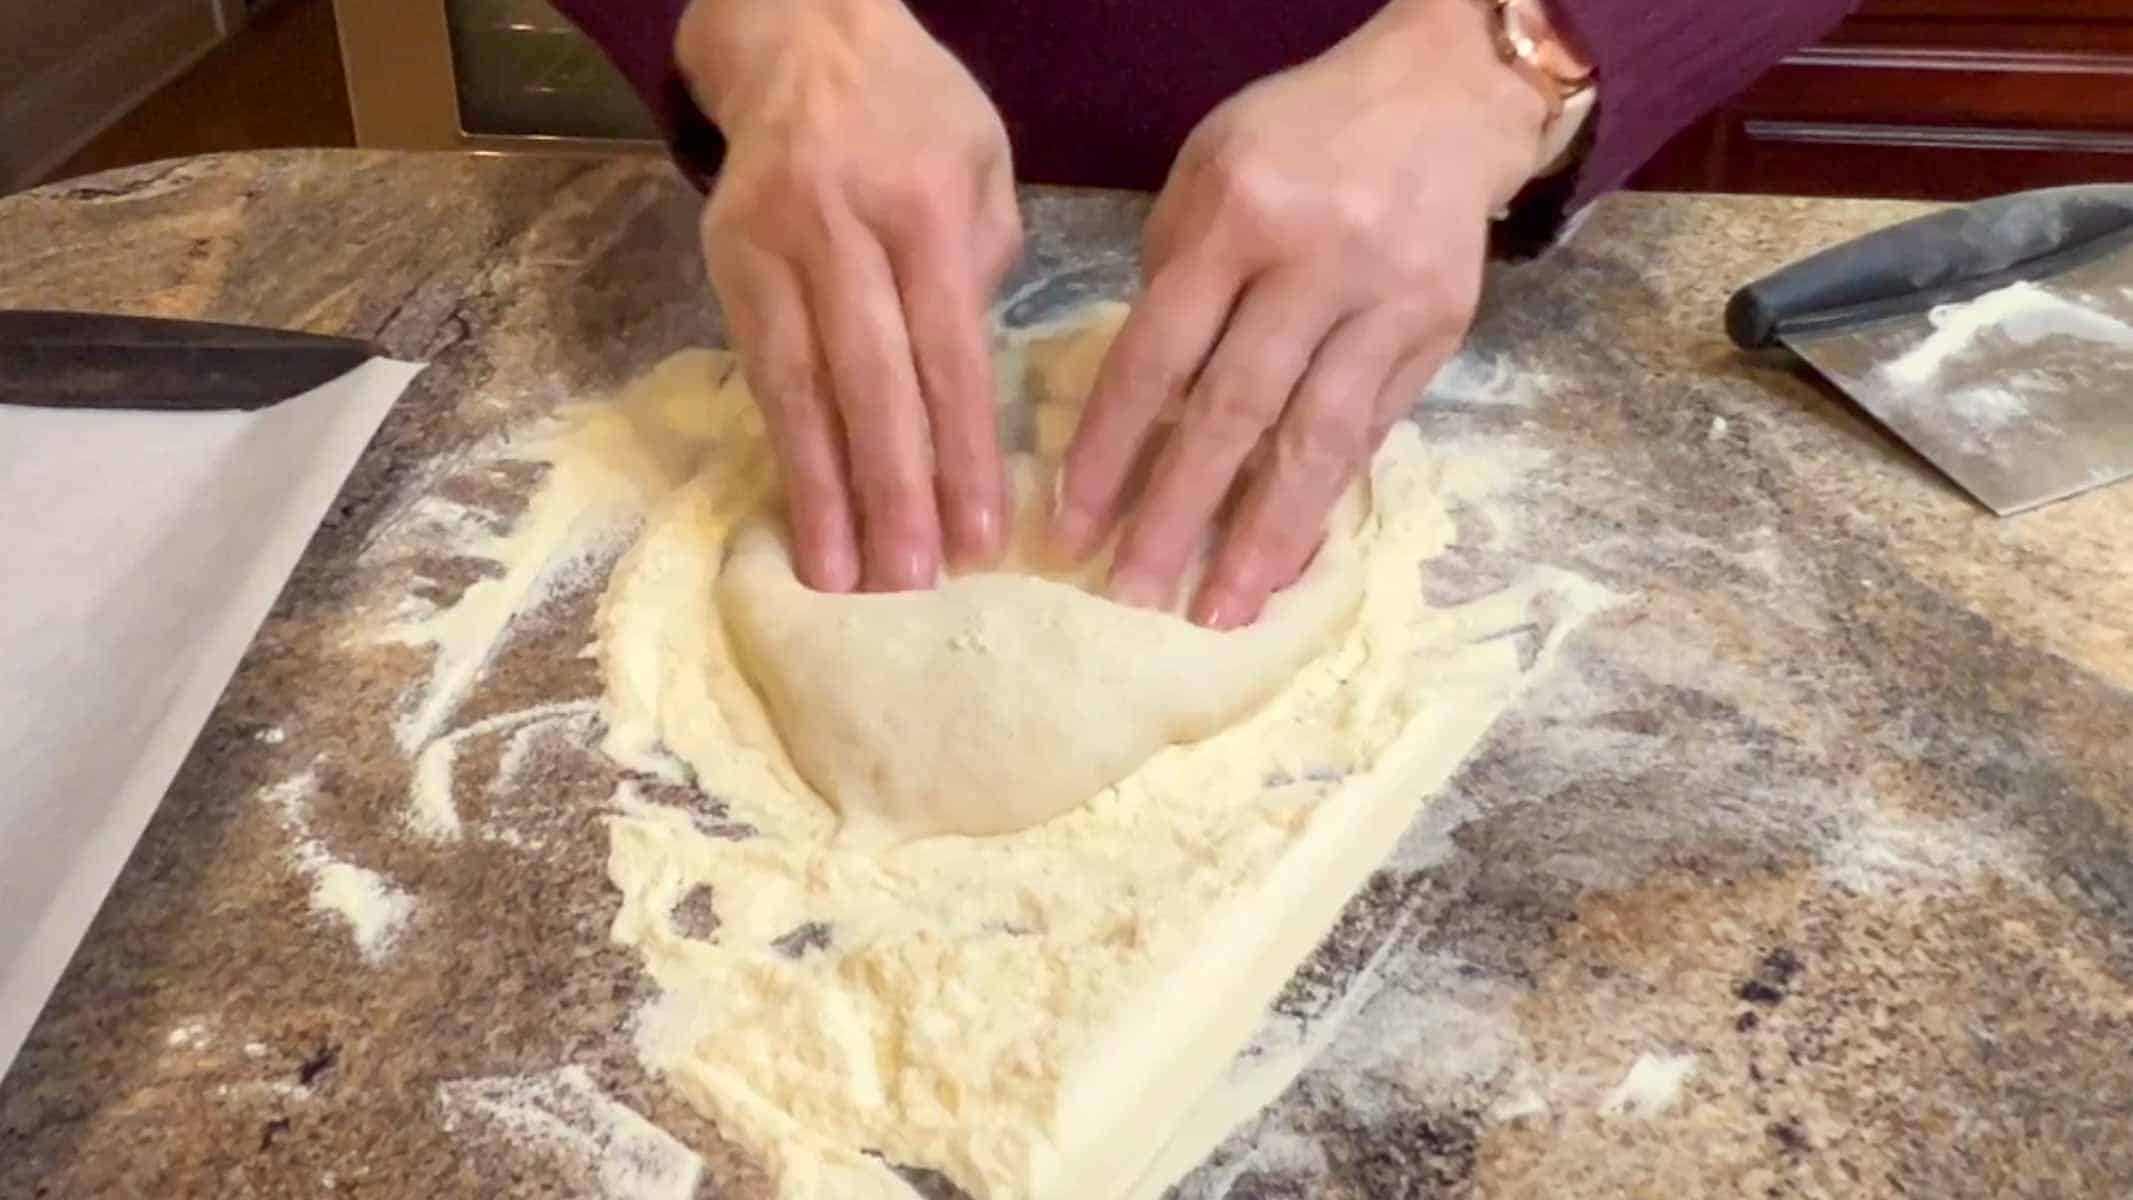
Step 8 Shape the Pinsa: Pour a generous pile of semolina flour onto your work surface. Transfer one dough portion onto the flour. Starting at one end and working to the other, press your fingers into the dough to create dimples, gently stretching it into an oval. Avoid degassing completely. Carefully transfer the dough to the hot stone or baking sheet.
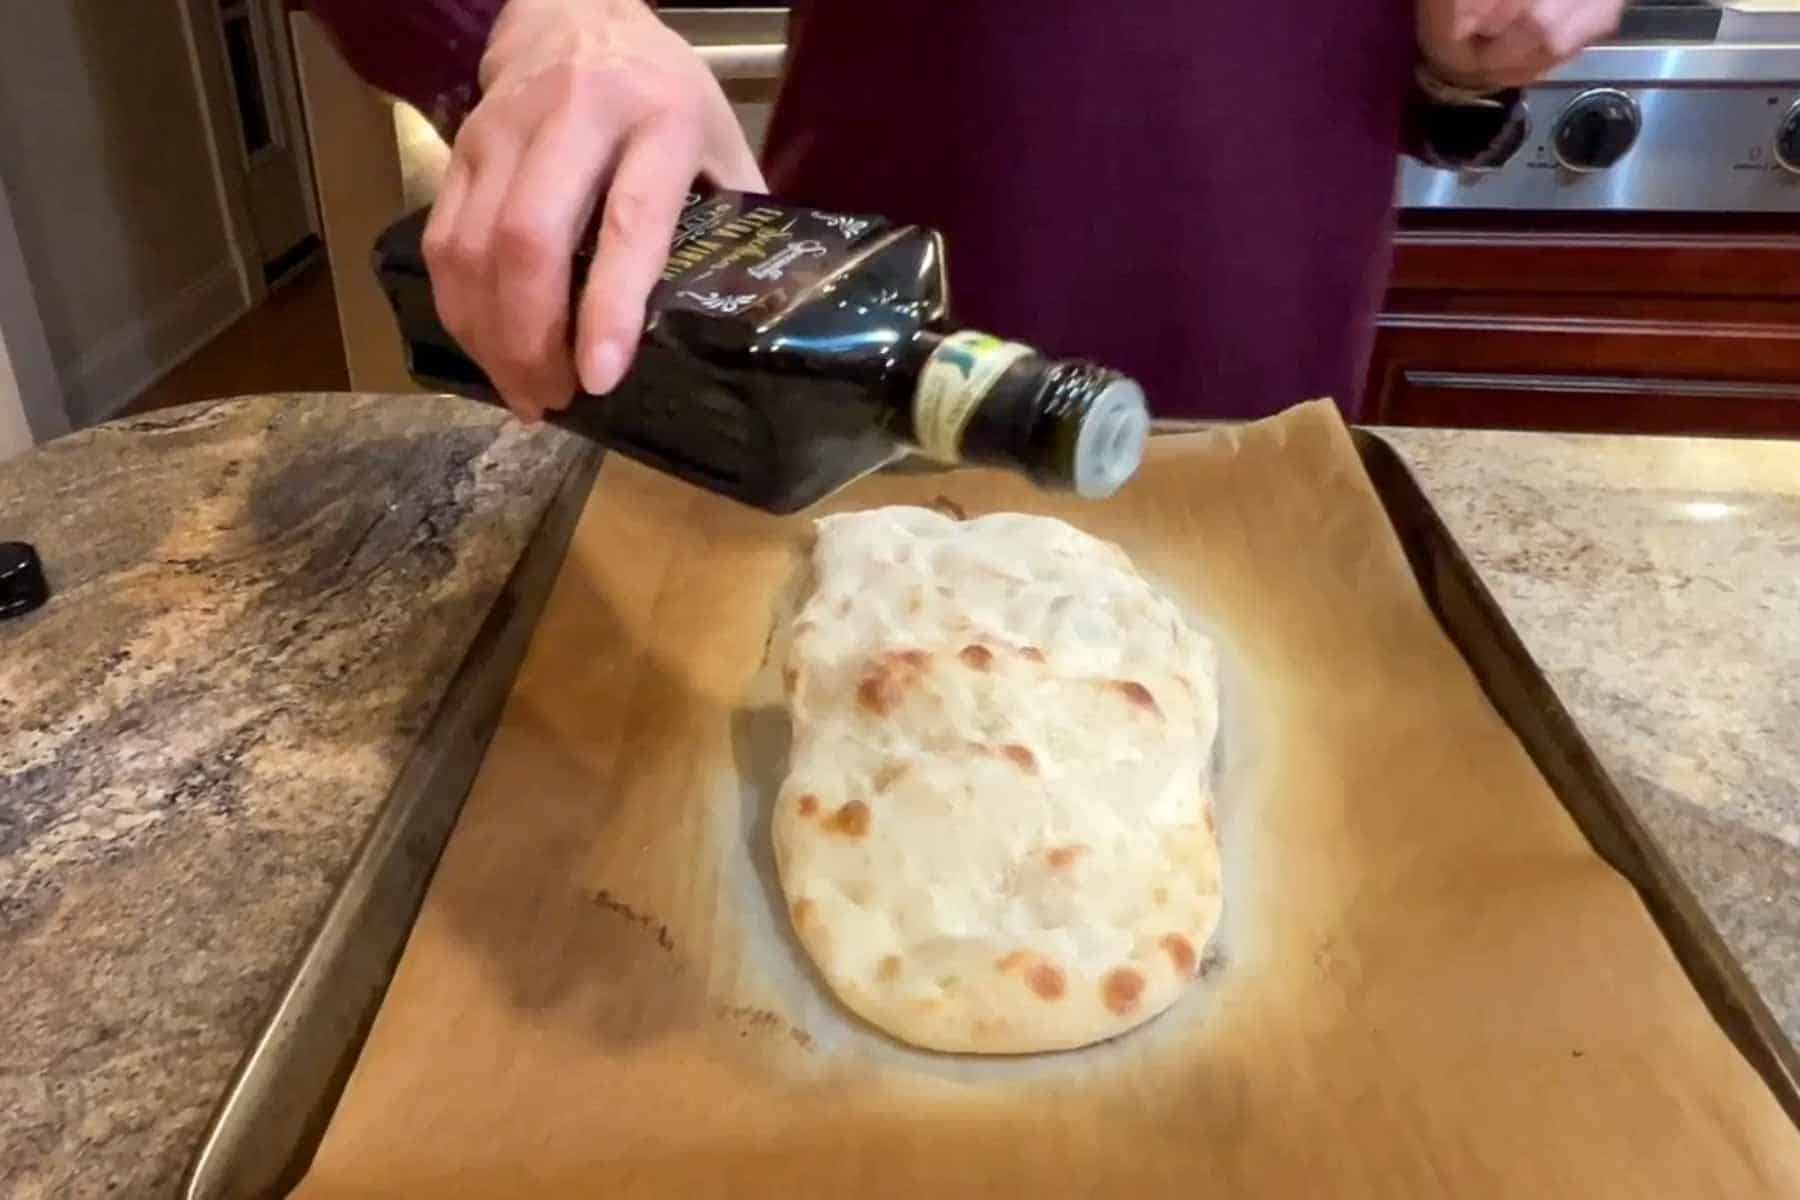
Step 9 Bake Pinsa Romana: Bake the dough in a pre-heated 450°F for 5–7 minutes until it sets but doesn’t brown fully. Remove it from the oven, add your toppings, and return it to the oven for an additional 7–8 minutes, or until the bottom is golden brown and crisp.
Cooking Tip
If you are using heavy wet sauces or toppings, it is best to par-bake the pinsa so that the bubbles don’t collapse.
Topping Ideas That Work Especially Well With Pinsa
Because pinsa is light and crisp, simpler toppings shine:
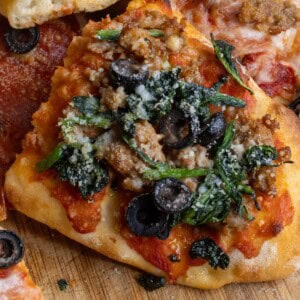
- Fresh mozzarella, crushed tomatoes, basil
- Burrata added after baking
- Prosciutto and arugula
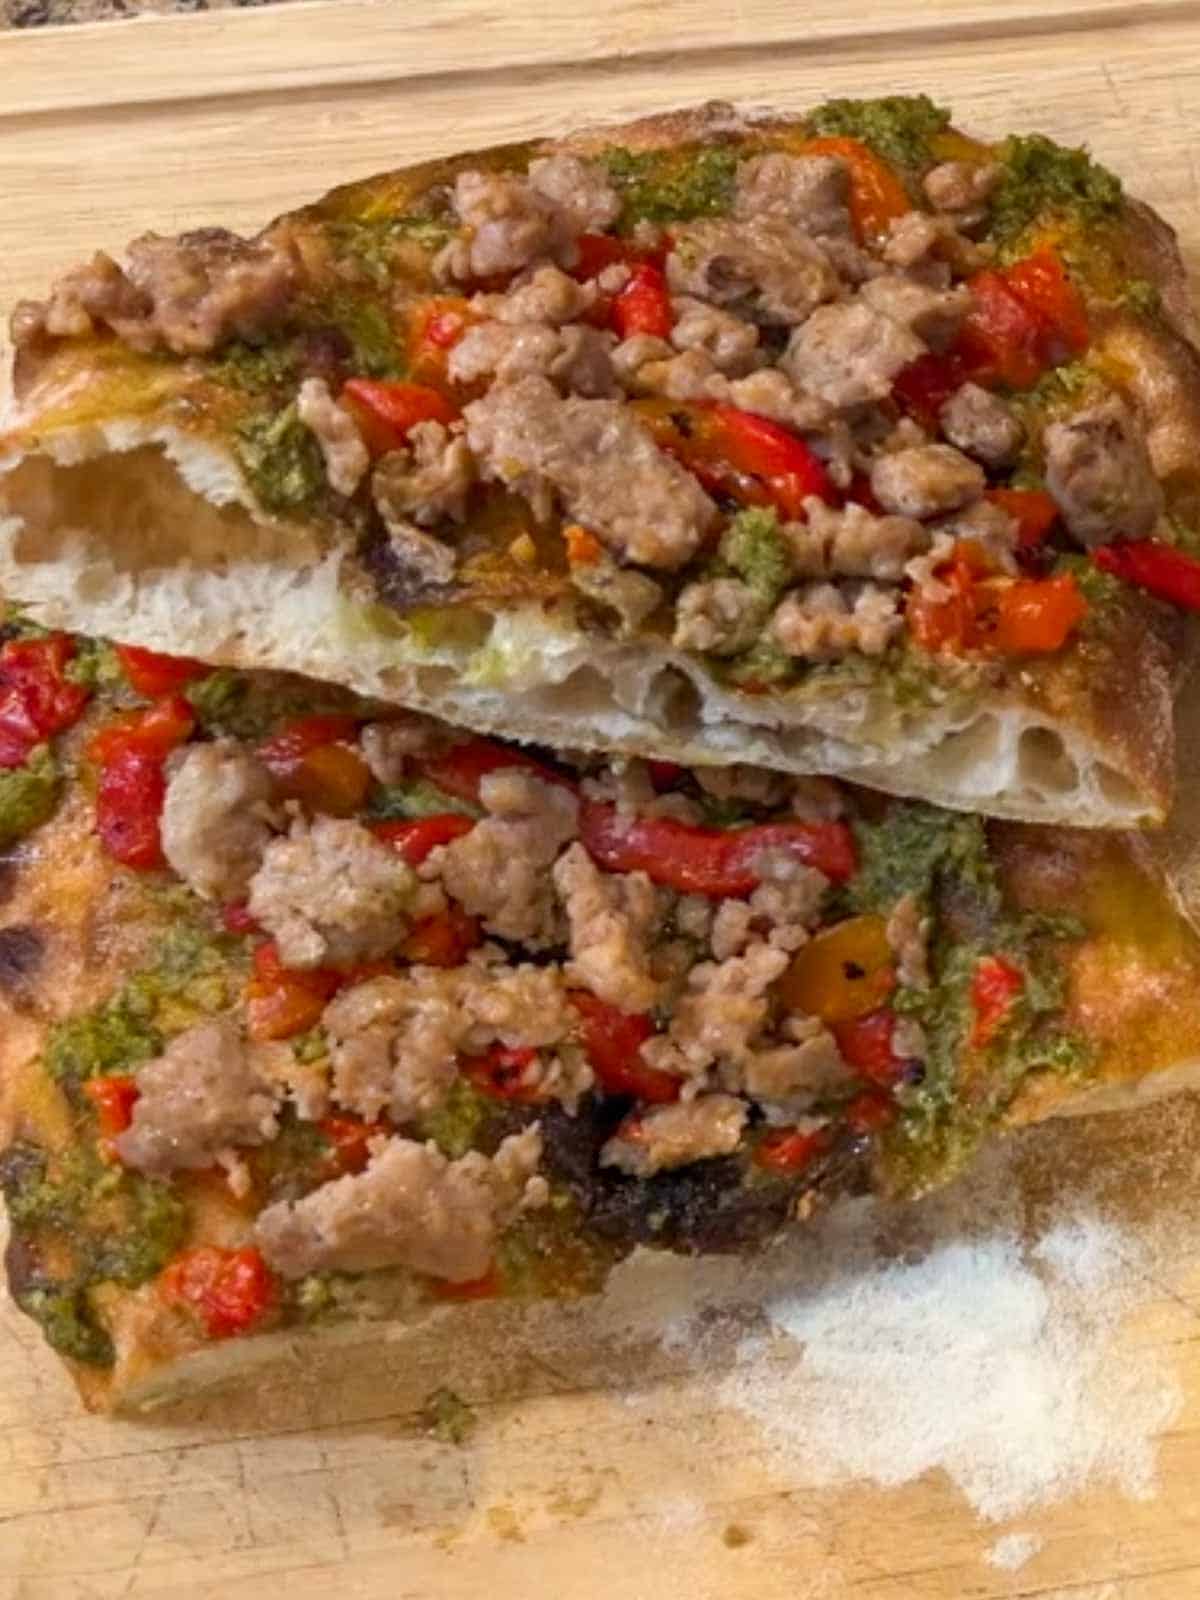
- Spinach, sausage and Parmagiano
- Pesto with roasted vegetables
Pro Tips From My Test Kitchen
- If the dough feels too loose, resist adding flour; folding and resting will fix it
- A little mountain of semolina will help you form the bubble when pressing down on the dough
- Try not to stretch the dough too much when transferring it to your baking sheet or stone
- Trust your eyes, not the clock; color and bubbles will tell you when it is done
Yes. The dough can stay refrigerated up to 48 hours with excellent results.
No. The flour blend, hydration, fermentation, and texture are completely different.
High hydration is essential. Sticky dough is normal and necessary for an airy crumb.


I love to get your feedback, so if you try this Pinsa Romana or any other recipe on this website, please leave me a comment below. I hope you enjoy our recipes, and I look forward to hearing from you!
You can also follow me on Facebook, Instagram, and Pinterest for more recipes your family will love!
Pinsa Romana (Crispy, Bubbly Roman Style Crust)
Want to Save This Recipe?
Enter your email & I’ll send it to your inbox. Plus, get great new recipes from me every week!
By submitting this form, you consent to receive emails from Enza’s Quail Hollow Kitchen
Equipment
- 1 Baking sheet or
Ingredients
- 520 grams 00 Flour or AP Flour, more for
- 60 grams Rice Flour
- 30 grams Soy Flour
- 3 grams Dry Active Yeast
- 365 grams Water Very cold (icy)
- 10 grams Salt
- 12 grams Olive Oil More for greasing the bowl
- 125 grams Water Very cold (icy)
- Semolina for pressing dough
Instructions
- Combine the 3 flours and the yeast in a large mixing bowl. Add about 3/4 of the water and mix with spoon or with your hands until the water is absorbed and a dough is formed. Knead the dough for about 2 minutes. Cover and let it rest for 15 minutes.520 grams 00 Flour, 60 grams Rice Flour, 30 grams Soy Flour, 3 grams Dry Active Yeast, 365 grams Water
- Cut the Dough into chunks or make multiple deep slits in it. Add the salt, olive oil, and remaining water to the bowl. Use your hands to knead the dough until the ingredients are fully absorbed. The dough will be very sticky and lumpy. Cover the dough and let it rest for 15 minutes.10 grams Salt, 12 grams Olive Oil, 125 grams Water
- Stretch the dough and fold it over. Turn the bowl 1/4 turn and repeat stretching and folding the dough 3 more times. Using both hands, lift the dough from either side and fold it over. Do this several times. The dough will start to become smoother. Pour the dough onto a lightly floured work surface and then lift and fold the dough a few more times. Place the dough in an oiled bowl, cover, and let it rise until doubled (1-2 hours). Once the dough has doubled in size, transfer the bowl to the refrigerator for 24-48 hours.
- The dough should have visible bubbles on its surface and will be sticky. Pour the dough out onto a generously floured work surface. Divide the dough into 4 equal-sized pieces. Working with one piece at a time, fold in the ends and pinch the dough in the center, forming an oval. Place the dough ball, pinched side down in a container that has been generously dusted with semolina flour. Repeat this with the remaining pieces of dough. Cover and allow it to rest for 2-3 hours.
- If you are using a pizza stone, place it in a cold oven and preheat the oven to 450℉ about one hour before you are ready to bake your pizzas. If you are using a baking sheet. heat it in the oven for at least 20 minutes.
- Pour a generous pile of semolina flour on your work surface. Transfer a dough ball onto the flour. Starting at one end of the dough and moving to the other end, press your fingers into the dough, forming divots. Carefully transfer the dough to your hot pizza stone or baking sheet. Bake for 5-7minutes to parbake the dough before adding your favorite toppings. Return the pizza to the oven to finish baking until the bottom is golden brown, about 7-8 minutes longer.
Notes
- Wetting your hands will keep the dough from sticking to you and make it easier to work.
- If the dough feels too loose, resist adding flour; folding and resting will fix it
- A little mountain of semolina will help you form the bubble when pressing down on the dough
- Try not to stretch the dough too much when transferring it to your baking sheet or stone
- Trust your eyes, not the clock; color and bubbles will tell you when it is done
- If you are using heavy wet sauces or toppings, it is best to par-bake the pinsa so that the bubbles don’t collapse.
- Cut the pinsa with scissors to preserve the bubbles.